This next
element of the course looks at outdoor light and how to manipulate it and use
lighting conditions appropriate for different subjects. The emphasis is on bringing texture and
atmosphere to the photographs. The basic principle at work here is to be able
to isolate the lighting from the other compositional elements that make an
image. Hunter et al (2012) is the recommended OCA text for the Light projects and I will also be making
use of Arena (2009) for work with flash (I think the Speedliter’s Handbook is superb for its lighting diagrams as well
for its guidance on the Canon flash systems) and the Strobist Blog. I will also be exploring the use of light by
other photographers and artists as I go along.
The first
part of this exercise required 4-6 photos to be taken that were deliberately
lighter or darker than the average. My
first shot is of a Dahlia flower was taken in brilliant sunshine which made the
flower highlights burn out and the background greenery look extremely vivid and
distracting. I took this image with an
exposure compensation of -1.5EV which controlled the highlights, toned down the
background and introduced rich colour and texture to the flower.
 |
| Dahlia -1.5EV |
The second
shot was taken with the light streaming in through the kitchen window and the camera
set on evaluative metering made the scene very bright and with a midday sort of
feel to it (which it was) and with the outside almost bleached out. By actually exposing for outside the window
at -2EV I was able to show the outside correctly exposed and create a dawn/dusk
light feeling to the interior.
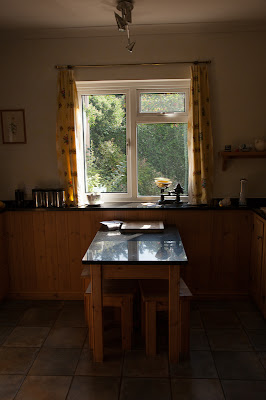 |
| Kitchen -2EV |
The next
photograph was taken by shooting directly into the sun over a local lake. This was actually taken in mid-afternoon and
was an intensely bright scene with the highlights from both the sun and its
reflection completely blown and the remainder of the sky a misty blue. Underexposing by 2 stops changed the scene
completely and made the sky detail visible and threw the trees on the far bank
into silhouette – absolutely nothing like the scene I was looking at or which
the camera recorded as ‘correct’.
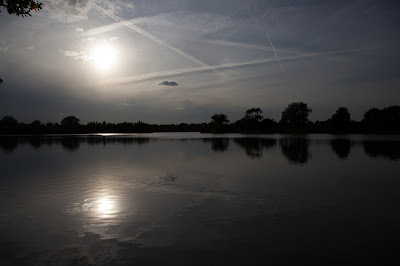 |
| Lake -2EV |
My final shot
featured a local lake just as the sun was setting. Apart from the light just catching the trees
in the distance, this was a very dark scene, so overexposure by 1.5EV introduced
some detail into the foreground although consequently lost detail in the
sky. Obviously it would have been
possible to recover sky detail by either appropriate use of graduated filters
or in post-processing if it was required.
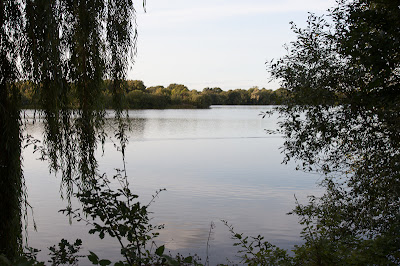 |
| Lake +1.5EV |
The second requirement
of this exercise was to produce five bracketed exposures (-1, -.5, 0, +0.5 and
+1 EV) of each of six subjects and then comment on whether the 0 (average) value
as calculated by the cameras auto system was indeed the best image, or whether
the lower or higher exposures were to be preferred. I don’t plan to blog all 30 images although I
did take and examine the full range required.
All images were unaltered by any form of post-processing.
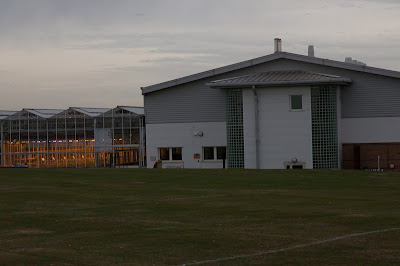
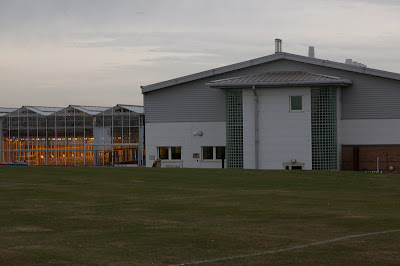
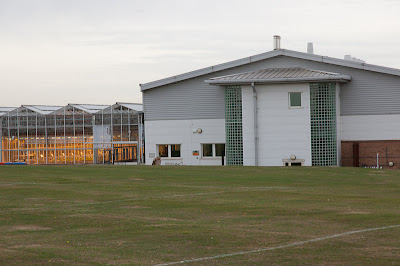
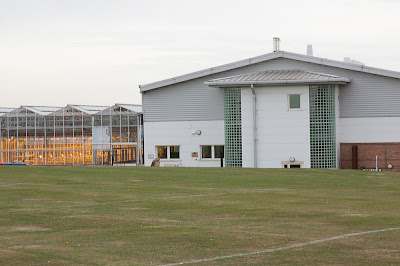
The first set
of images here are of a local building photographed at midday on a cloudy but
quite bright day. All images were taken
at a focal length of 105mm and f /8 and ISO400.
The first two images at -1 and -0.5EV were very dark as far as the
building and foreground were concerned, but both brought out the cloud details
in the sky. The images at +0.5 and +1EV
were better at bringing out the details of the building but lost the sky
detail, whereas the cameras auto setting at 0EV was probably the best overall
image. If I was doing this ‘for real’ I
would have shot at +0.5EV and then used the gradient tool in Lightroom 4.1 to recapture the sky detail.
 |
| Building -1EV |
 |
| Building -0.5EV |
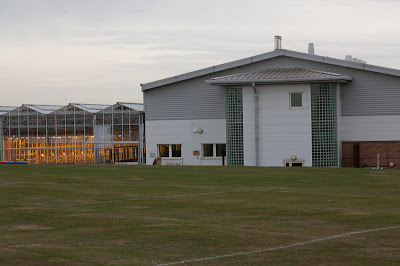 |
| Building 0 |
 |
| Building +0.5EV |
 |
| Building +1EV |
The second
series of images is skip full of reclaimed metal and I liked the large range of
light and dark areas as well as the colours.
The minus EV values appeared too dark as did the cameras auto
effort. +0.5EV gave the best balance of
detail in the metal as well as giving some definition to the shadow areas. +1EV was too bright for the highlight areas
of the image.
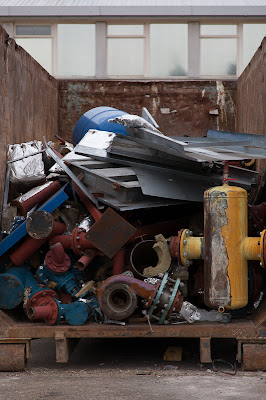 |
Metal -1EV
|
 |
| Metal -0.5EV |
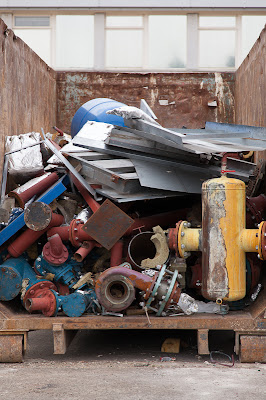 |
| Metal 0 |
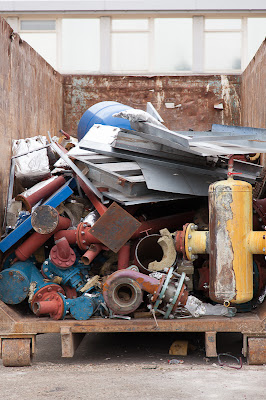 |
| Metal +0.5EV |
 |
Metal +1EV
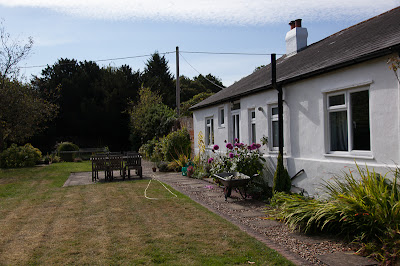
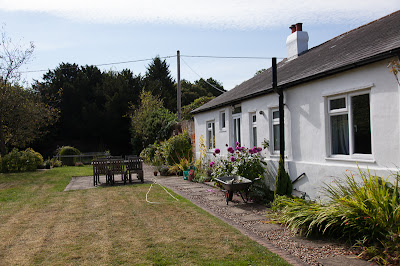
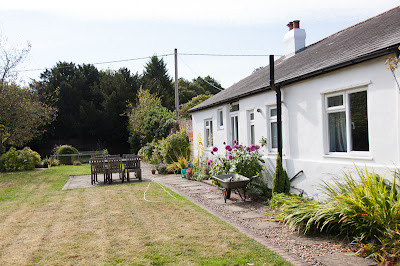
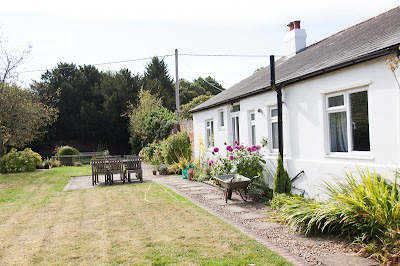
The third set
of images I will actually post here are of a white house with deep shadows in
the background trees so I could
explore the influence of exposure
value on well-lit white areas and poorly lit shadows. -0.5 and -1EV again retained details in the
sky and the -1EV exposure suggested an image taken early in the day with its
emphasis on deeper shadows, especially on the front of the house. The positive exposure compensation values
certainly delivered more detail from the shadow in the trees, but the detail in
the white paintwork of the house has disappeared along with the shadows which
gave some structure to the image; they also lose the sky detail. Overall I think that the image taken at 0EV
offered the best compromise between lights and darks.
|
|
| House -1EV |
 |
| House -0.5EV |
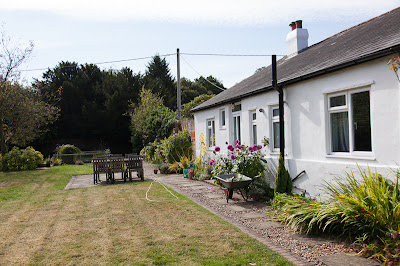 |
| House 0 |
 |
| House +0.5EV |
 |
| House +1EV |
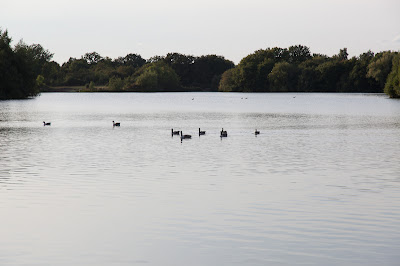
My final shot
was of a view across the lake again, this time with the sun setting over to the
left of the frame. Shadow detail of the
trees was very closed at all exposures other than that taken at +1EV which
opened up the shadows and additionally brought some feature to the water and
geese in the foreground.
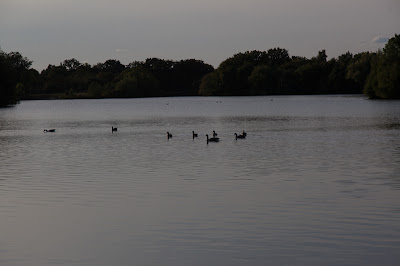 |
| Lake -1EV |
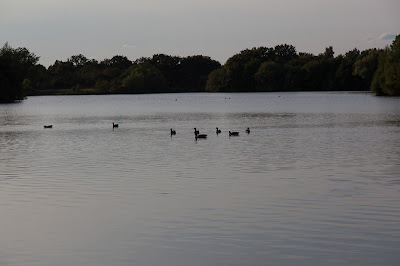 |
| Lake -0.5EV |
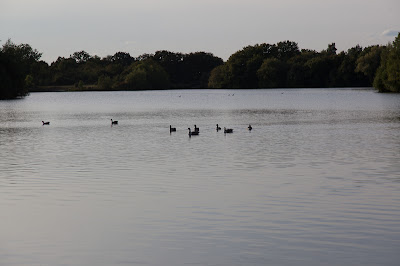 |
| Lake 0 |
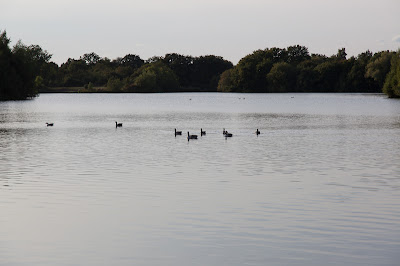 |
| Lake +0.5EV |
 |
| Lake +1EV |
The process
of bracketing exposures is a common practice and one I have routinely employed
when I have been shooting a subject that allows the time. For my wildlife photography I have generally ‘exposed
to the right’ of the histogram as much as possible without blowing the
highlights, as in this region the signal to noise ratio is far greater and the
level of information recorded in the image far higher. However, it is sometimes necessary to adjust
exposures to achieve a certain atmosphere in an image, either in the camera or
in post-production.
This was an
interesting exercise and reinforced the importance of exposure compensation as
a route to changing an image.


No comments:
Post a Comment